Firmware
Node comes pre-flashed with ZMK firmware and a default keymap. With the nature of a small keyboard like Node, you're likely interested in making a custom keymap for it.
We have created a template repository for Node that you can copy to configure the keymap yourself. If you are interested in setting up ZMK from scratch, you can follow the ZMK documentation.
Using the template
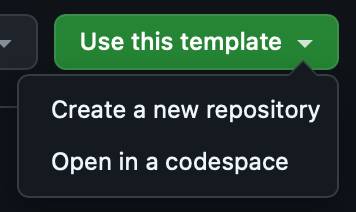
To start customizing your firmare, begin by visiting our template repository on GitHub, select "Use this template" at the top right of the page, then create a new repository.
After copying the template repository, the firmware will be automatically built using GitHub Actions. You can edit the /config/node.keymap file to customize your layout. For documentation on editing your keymap, visit the ZMK documentation. Alternatively, you can use the visual keymap editor by Nick Coutsos which makes things very easy.
After you edit your keymap either on your own or through the keymap editor, GitHub actions will automatically begin compiling your firmware.
Downloading the Firmware
To download your firmware, click on the "Actions" tab in your GitHub repository.
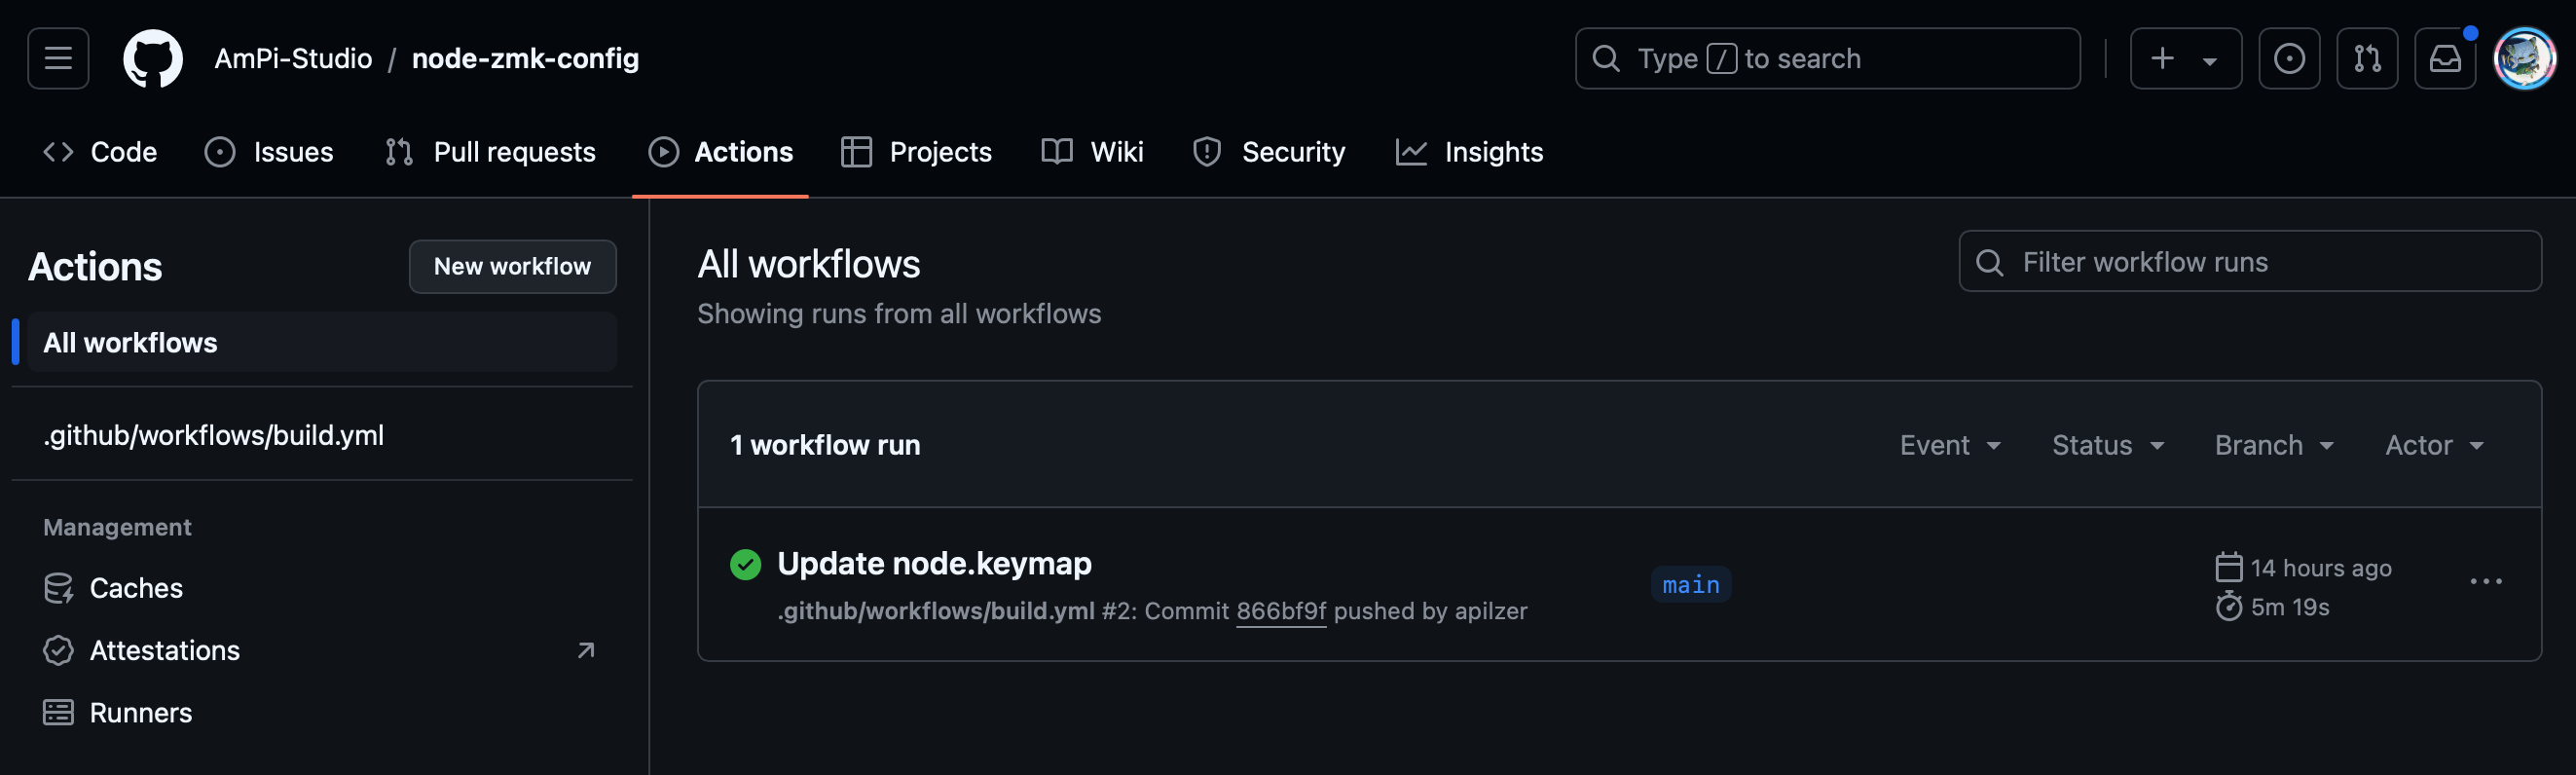
You will see your workflow run that has built your firmware, click into that to find your download.

The download will contain 3 items. You will find a firmware file for the left and right halves of the keyboard, and a settings reset.
The settings reset firwmare is only needed for troubleshooting. For information on clearing keyboard bonds using the settings reset firmware, follow the steps outlined in the ZMK documentation
Flashing Firmware
To flash your downloaded firmware to Node, first ensure both power switches are in the off position, then plug the left half to your computer. Once plugged in, you will need to use a paperclip, needle, or tweezers to quickly double press the reset button located on the bottom of the half.
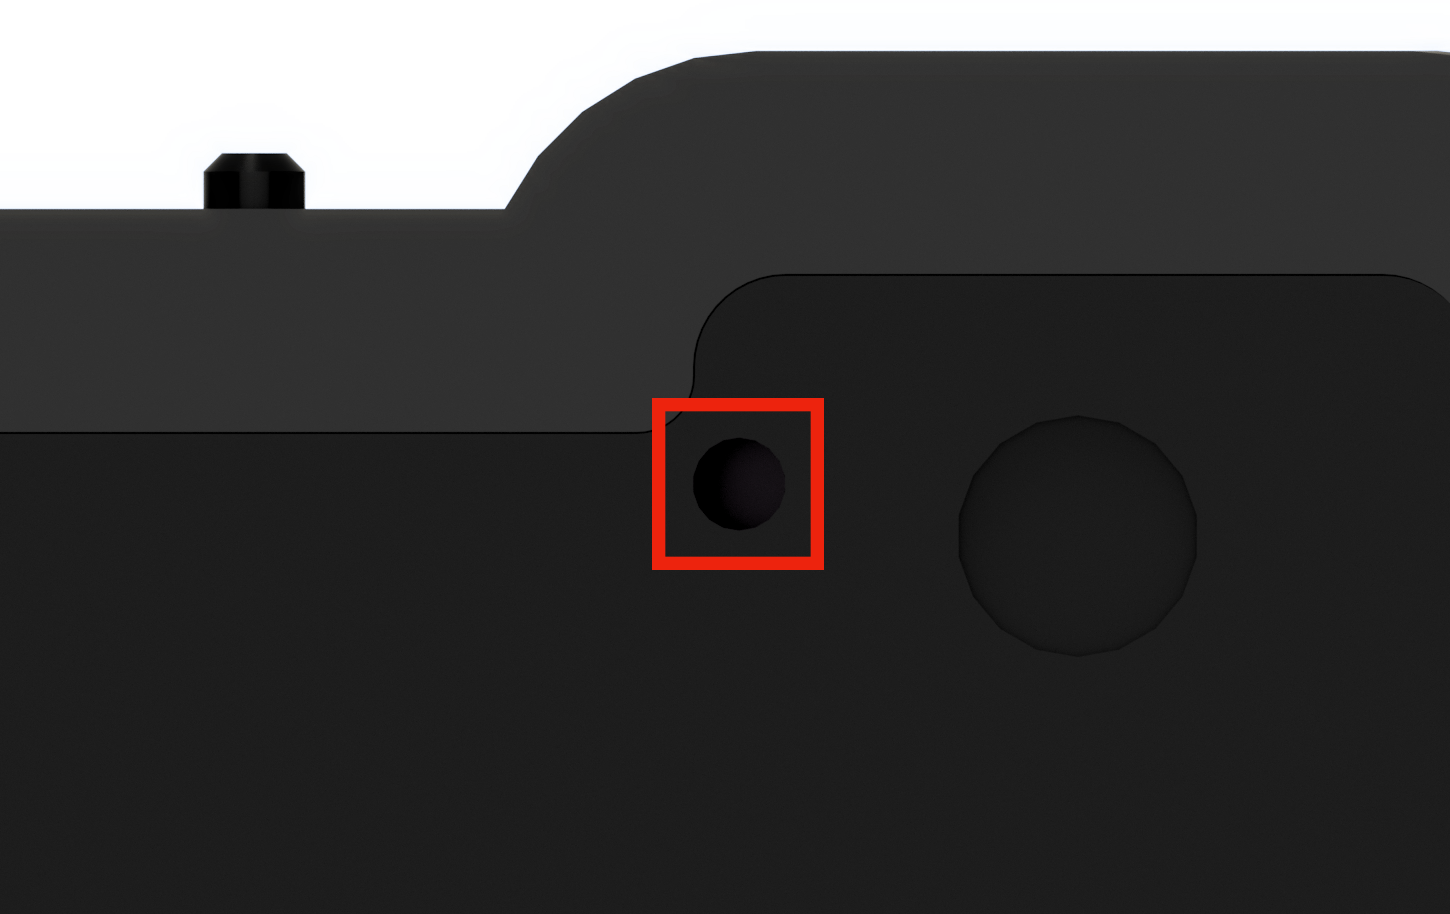
The reset button may not be alligned perfectly with the hole. In good lighting, you may be able to see the button inside to better align and press it. When you press the button, you will feel a tactile response.
After double pressing the reset button, Node's microcontroller will emulate a storage device called "NICENANO". Drag and drop either left firmware file into the storage device. When the bootloader automatically disconnects from your computer, you will have successfully flashed the keyboard half. Follow the same steps with the right half and flash the right firmware file.
Once both halves are flashed, you can power on and begin using Node. To help ensure the right half properly connects to the left, it can help to power on the right half about a second before powering on the left.
When the left half is powered on for the first time, it will automatically enter pairing mode and Node should be available to connect to from your computer. For more information about the bluetooth behavior of Node and adding bluetooth switching functionality to your keymap, check out the ZMK documentation.